Arrange Master:
Free Demo Version
Evaluate hardware compatibility and the Dense Packing Engine before purchasing.
Download Demo VersionInstalls as a native Adobe Illustrator CEP Extension.
The Purpose of the Demo
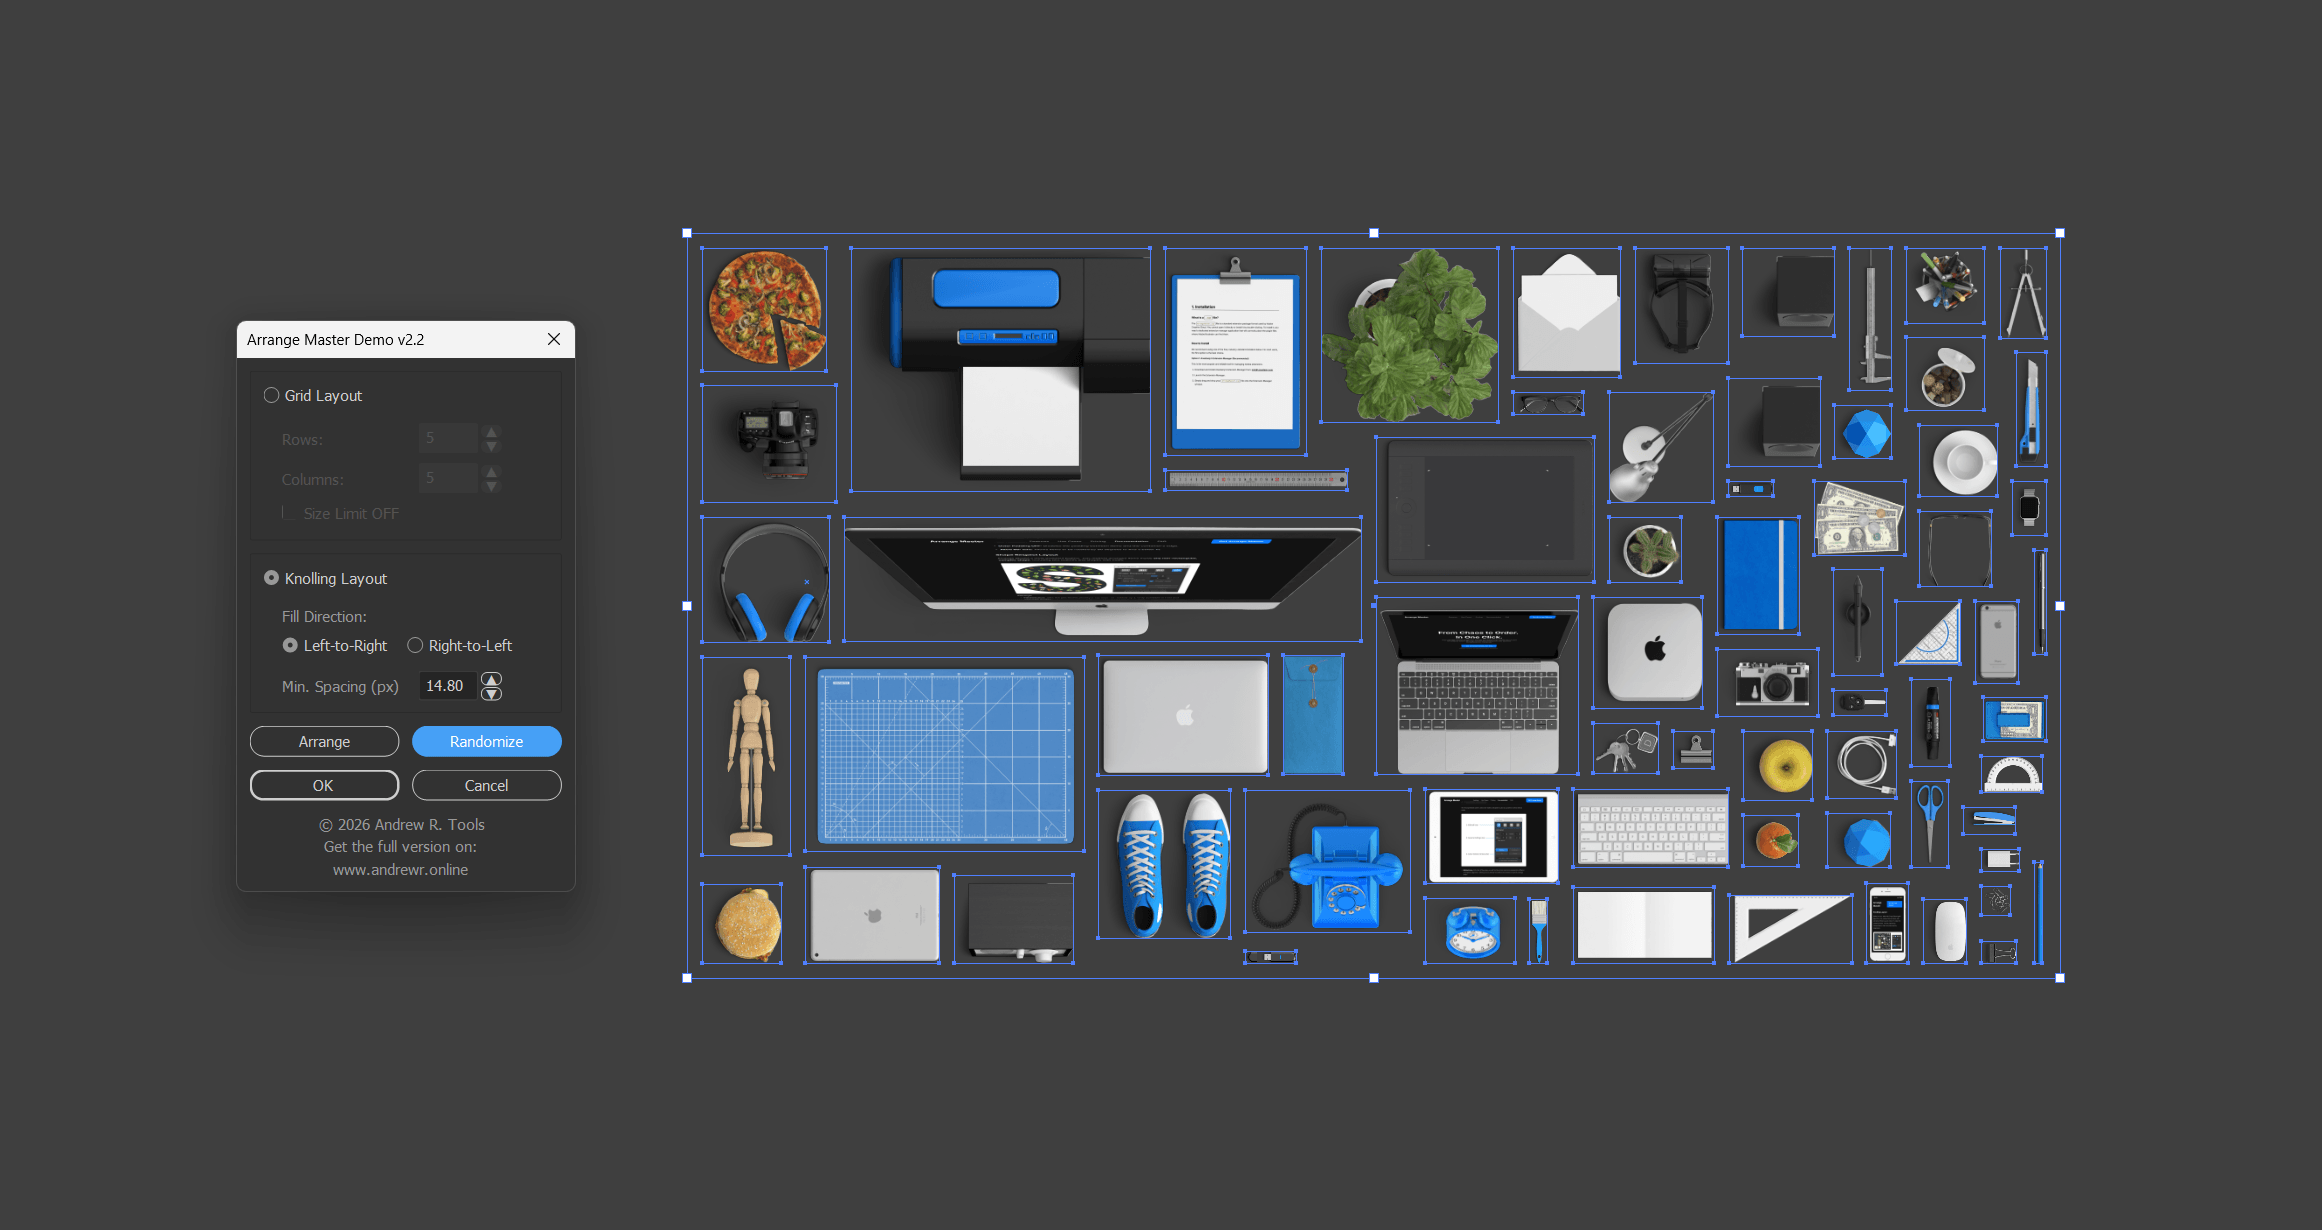
The Arrange Master Demo provides a hands-on trial of our True-Shape Nesting Plugin for Adobe Illustrator (CC 2018+). Previously distributed as a basic JSX script, the demo is now a fully integrated CEP panel. It allows users to test the performance of the True-Shape Nesting algorithm, verify compatibility with complex prepress vector files, and understand the core session workflow.
For the first test, use 5–20 representative objects. Check the spacing, rotations, and container behaviour before trying a larger selection.
Available Functionality
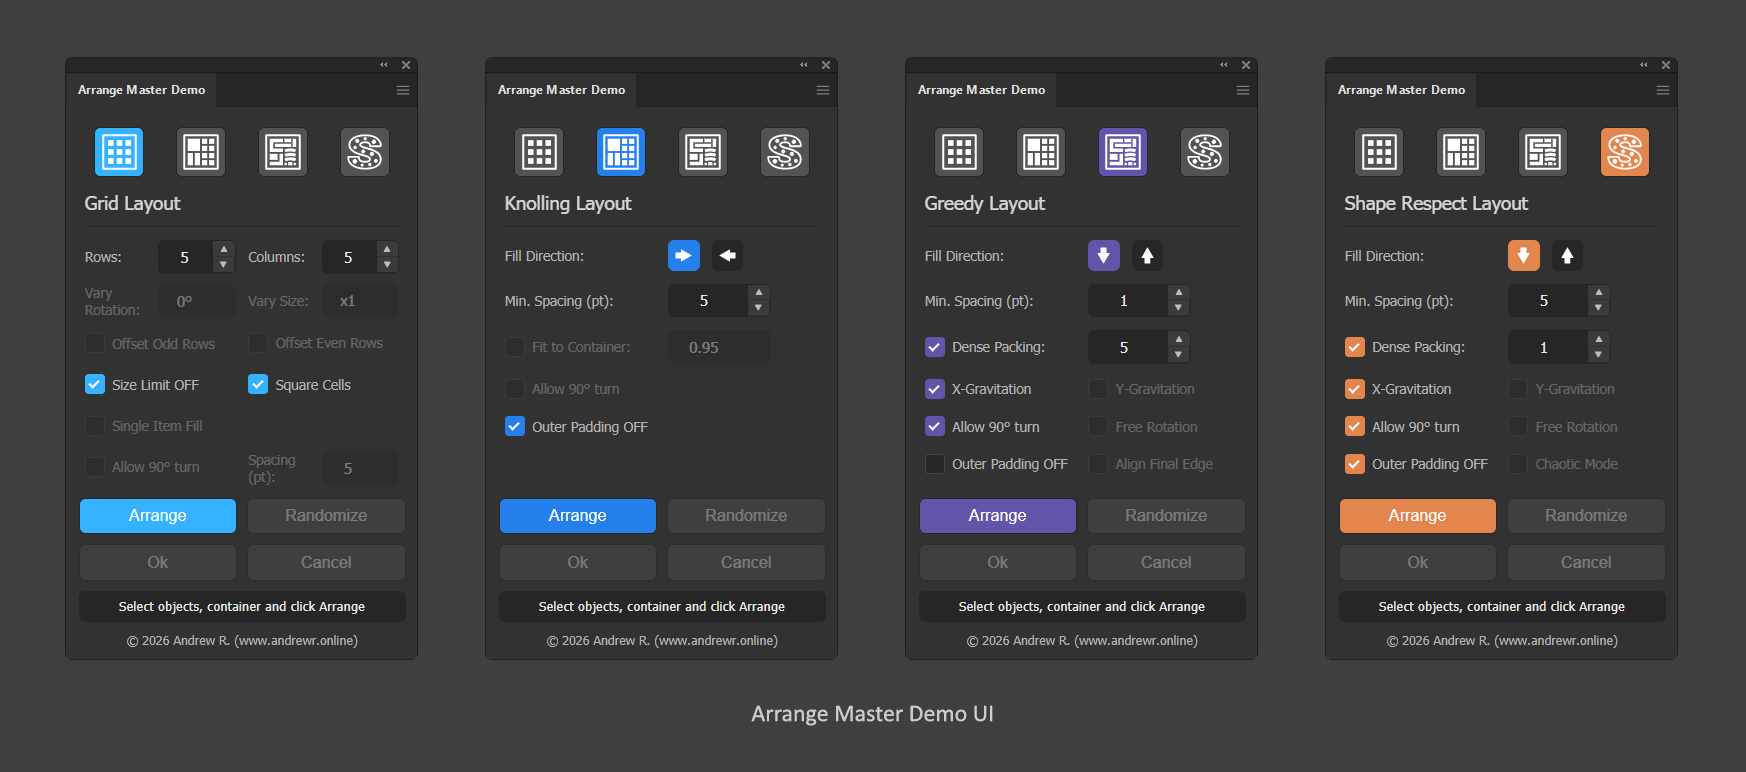
The demo includes four layout methods with selected controls enabled:
- Grid Layout: Distributes objects in rows and columns. Rows, Columns, Size Limit OFF, and Square Cells are available.
- Knolling Layout: Arranges object bounding boxes. Fill Direction, Min. Spacing, and Outer Padding OFF are available.
- Greedy Layout: Packs objects in a rectangular area. Fill Direction, Min. Spacing, Dense Packing, Evolution Stepper, X-Gravity, Y-Gravity, 90° Turn, 180° Turn, 360° Turn, and Outer Pad Off are available only with Dense Packing. 360° Turn tests 15° increments.
- Shape Respect Layout: Places objects inside a non-rectangular vector container. It supports closed paths, compound paths, supported groups, and clipping groups. The same enabled controls as Greedy Layout are available; all rotation controls require Dense Packing.
Dense Packing & The Evolution Stepper
Dense Packing is Arrange Master’s true-shape nesting mode. The Chromium Math Engine performs Vector Path Analysis, so the nesting algorithm evaluates the actual vector outlines instead of only their bounding boxes.
Use clean, closed vector contours when you need to test Material Optimization, CNC preparation, laser cutting preparation, or print-and-cut artwork. Raster-only artwork can still be evaluated with the standard layout methods, but it is not used as true-shape collision geometry.
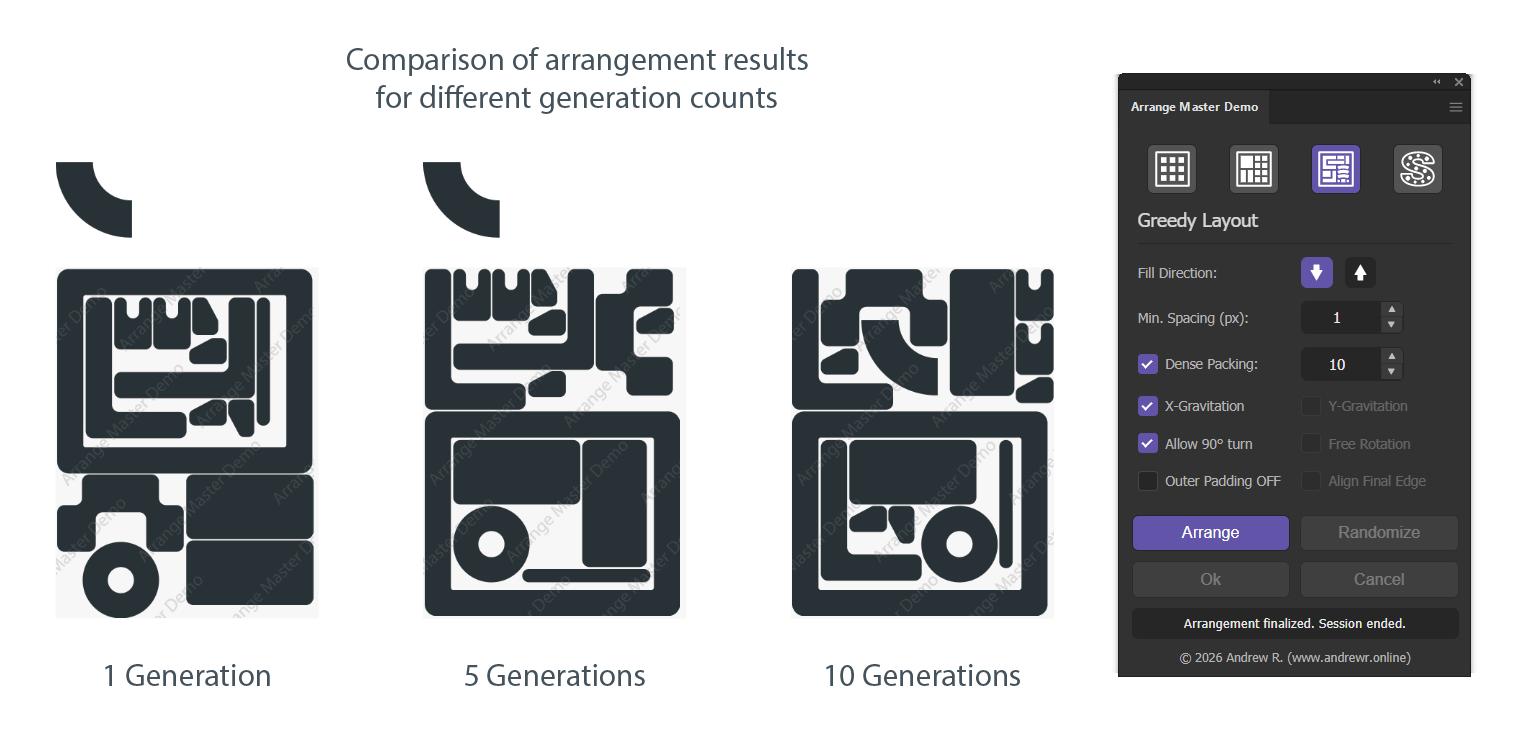
- Evolution Stepper: a value of
1performs one fast search pass. Higher values evaluate more placement options and take longer. - Demo limit: the Evolution Stepper is limited to
15generations. - Object limit: Dense Packing accepts up to
50objects per run in the demo. - Demo output: Dense Packing creates a 96 PPI raster result with a watermark. Use it to evaluate nesting behaviour and compatibility; it is not intended for final production output.
Standard layouts, including ordinary Accurate mode, keep the arranged artwork editable.
Hidden Capabilities
The demo also supports the following production-oriented file behaviour:
- Multi-Layer Retention: Arrange Master can move related objects across layers as one unit and restore them to their original layers (e.g., PRINT, CUT, and MARKS) when the session is completed. Test this feature in Knolling Layout.
- Clipping Mask Detection: the plugin reads the visible boundary of a clipping mask and ignores artwork outside the clipping path.
The Session Workflow: Why you must click "OK"
Arrange Master works in a temporary session. After you click Arrange, the original selection is hidden while the plugin creates a working group. You can change settings and calculate again before making the result permanent.
Do not close or change document while a session is active. Arrange Master ends the temporary session automatically to protect the document state.
Disabled Features (Available in Full Version)
The following options are disabled in the demo and available in the full version:
- Vector output for Dense Packing: the full version keeps nested results as editable vector artwork.
- X/Y-Gravity: combined X/Y gravity remains disabled in the demo. In Greedy and Shape Respect, 90°, 180°, and 360° rotation controls are available only while Dense Packing is enabled.
- Additional automation: Single Item Fill, Chaotic in Shape Respect, Align Edge in Greedy, and Fit to Container scaling in Knolling are disabled.
- Higher limits: the full version removes the 50-object Dense Packing limit and supports an Evolution Stepper value up to 50.
Installation & Removal
Plugin Isolation
The Arrange Master Demo is compiled as an independent CEP extension with a unique Bundle ID. It uses a separate memory space and a dedicated cache directory. Installing the demo will not conflict with the full version of the plugin if both are installed simultaneously.
How to Install
- Windows: Extract the downloaded ZIP archive and run the
ArrangeMasterDemo-Setup.exefile. - macOS (ZXP): Use a third-party manager like Anastasiy’s Extension Manager, ZXPinstaller or Aescripts to install the provided
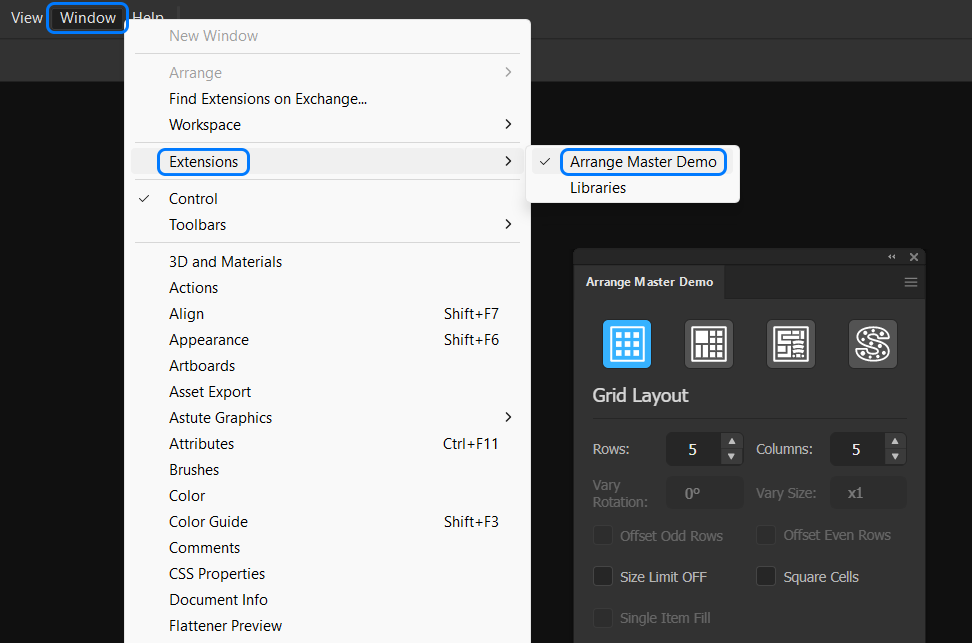
.zxpfile. - Restart Adobe Illustrator. The panel is located under Window > Extensions > Arrange Master Demo.
How to Uninstall
- Windows: Go to Settings > Apps > Installed apps, locate "Arrange Master Demo", and click Uninstall.
- macOS: Open your ZXP Extension Manager, select the demo plugin from the list, and click Remove. Alternatively, manually delete the
com.andrewrybalko.arrangemasterdemofolder from~/Library/Application Support/Adobe/CEP/extensions/.
Troubleshooting: Blank Panel Issue
A blank panel in Adobe CEP extensions is typically caused by a Creative Cloud sync issue, macOS security flags (Gatekeeper quarantine), or missing PlayerDebugMode permissions.
Fix for macOS (Terminal)
Option 1: Universal Terminal Command (Recommended)
Quit Adobe Illustrator, open the Terminal app (Cmd + Space, type "Terminal"), paste this all-in-one command, and press Enter:
(Enter your Mac password when prompted, then restart Adobe Illustrator).
Detailed Step-by-Step Breakdown for Mac:
-
Enable PlayerDebugMode & Reset Preferences:
for v in {8..20}; do defaults write com.adobe.CSXS.$v PlayerDebugMode 1; done
killall -u `whoami` cfprefsd -
Remove Quarantine Attributes (Gatekeeper):
sudo xattr -cr ~/Library/Application\ Support/Adobe/CEP/extensions/
sudo xattr -cr /Library/Application\ Support/Adobe/CEP/extensions/ -
Set Correct Folder Permissions:
chmod -R 755 ~/Library/Application\ Support/Adobe/CEP/extensions/
-
Clear CEP Cache (cep_cache):
rm -rf ~/Library/Caches/CSXS/*
Option 2: Reinstall the latest demo build before changing Illustrator
Recent Illustrator/macOS updates can change the CEP host. If an older Arrange Master Demo build opens as a blank panel, first remove the demo completely, download the newest demo package from this page, reinstall it, restart Illustrator, and test again.
If the newest demo still works in an older Illustrator build but remains blank in the newest one, report your exact Illustrator version, macOS version, Mac model/CPU, and demo version. Testing an older Illustrator build can isolate a compatibility issue, but it should be treated as a diagnostic step rather than the default permanent solution.
Fix for Windows (Registry)
The automated Windows installer (ArrangeMasterDemo-Setup.exe) configures this registry key automatically during setup. However, if you installed the demo manually using a .zxp file and ZXP installer, you must create a registry key to unlock the panel. Follow these steps to create the fix file yourself:
- Open Notepad.
- Copy the code below and paste it into the empty text file:
[HKEY_CURRENT_USER\Software\Adobe\CSXS.10]
"PlayerDebugMode"="1"
[HKEY_CURRENT_USER\Software\Adobe\CSXS.11]
"PlayerDebugMode"="1"
[HKEY_CURRENT_USER\Software\Adobe\CSXS.12]
"PlayerDebugMode"="1"
[HKEY_CURRENT_USER\Software\Adobe\CSXS.13]
"PlayerDebugMode"="1"
[HKEY_CURRENT_USER\Software\Adobe\CSXS.14]
"PlayerDebugMode"="1"
[HKEY_CURRENT_USER\Software\Adobe\CSXS.15]
"PlayerDebugMode"="1"
[HKEY_CURRENT_USER\Software\Adobe\CSXS.16]
"PlayerDebugMode"="1"
[HKEY_CURRENT_USER\Software\Adobe\CSXS.17]
"PlayerDebugMode"="1"
[HKEY_CURRENT_USER\Software\Adobe\CSXS.18]
"PlayerDebugMode"="1"
[HKEY_CURRENT_USER\Software\Adobe\CSXS.19]
"PlayerDebugMode"="1"
[HKEY_CURRENT_USER\Software\Adobe\CSXS.20]
"PlayerDebugMode"="1"
- Click File > Save As.
- Name the file fix.reg (make sure to select "All Files" in the "Save as type" dropdown so it doesn't save as .txt).
- Double-click the created
fix.regfile and click Yes to confirm adding the data to your Registry. - Restart Adobe Illustrator.
Troubleshooting: Activation & Connectivity
The demo requires an active connection during initialization. If you see All authentication servers are unreachable, ECONNREFUSED, EACCES, or the verification never completes:
- Temporarily allow
IllustratorandCEPHtmlEnginethrough your firewall/antivirus. - Try a different network or a mobile hotspot. If that works, the problem is likely local firewall/ISP routing rather than the demo itself.
- If you are in a region where Adobe background traffic does not follow the normal system proxy, temporarily use a VPN/proxy in a mode that routes all application traffic (for example TUN/global mode).
- Close and reopen Illustrator after changing network/proxy settings, then reopen the demo panel.
When contacting support: include the exact error text, operating system, Illustrator version, and whether another network/VPN changes the result. This usually identifies the cause much faster than reinstalling repeatedly.